Step-by-step guide on how to make a mold for glass sculptures
Making a plaster mold to cast a glass sculpture involves several crucial steps. If you’ve ever wondered how to make a mold for your glass art, this guide will walk you through the entire process.
1. Design your prototype
To begin, you’ll need to design your prototype using clay or fine art plasticine. I prefer using plasticine because it doesn’t dry out, allowing me to take my time creating the design. This step is important as it forms the foundation for your mold for glass casting.
2. Build the mold walls
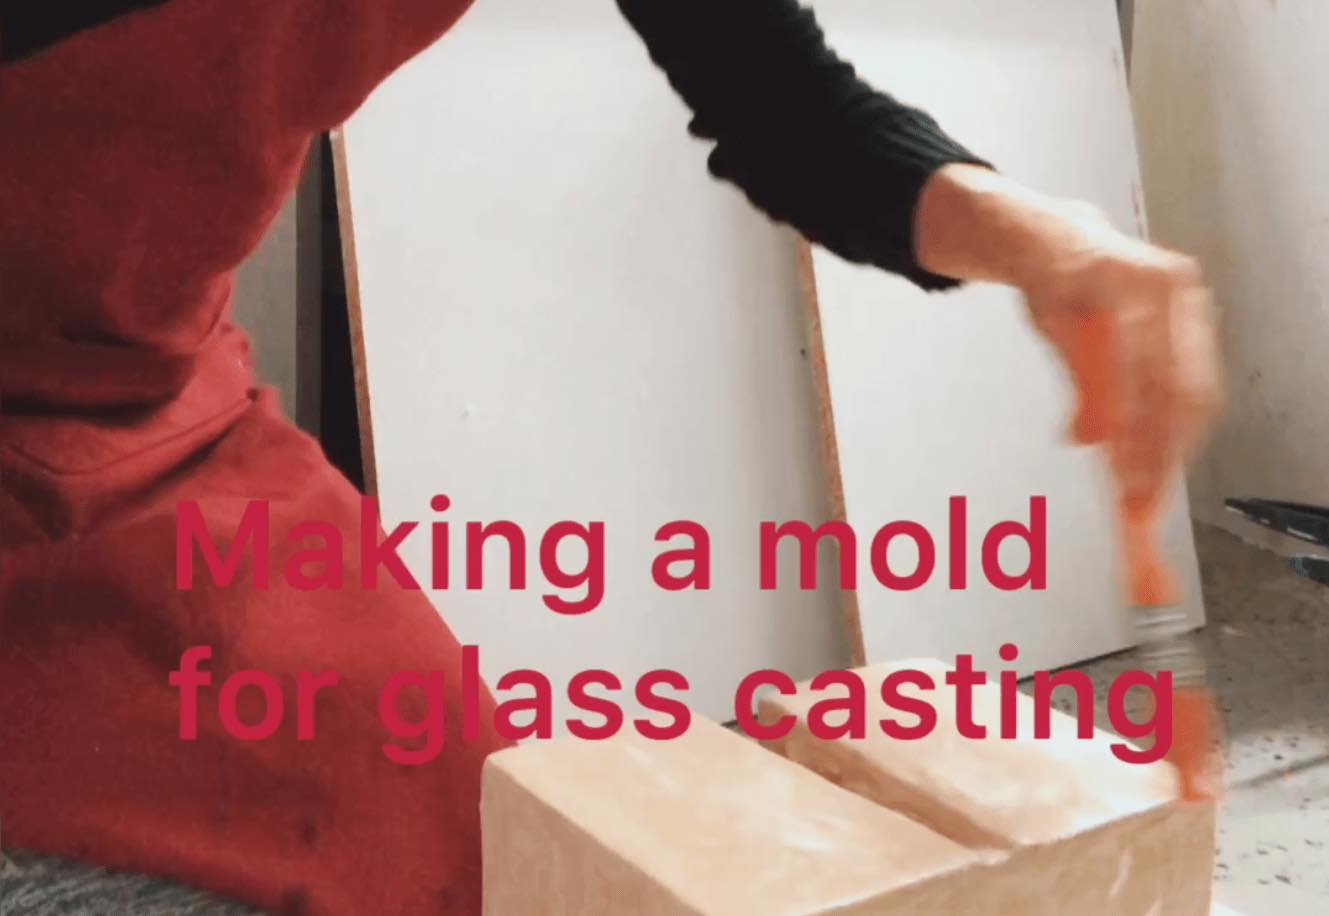
Once your prototype is ready, you’ll need to build walls around it to form the outer boundary of the mold. Use clay or plasticine to seal the junctures and prevent leaks when you pour plaster into the cavity. Proper sealing is essential for a clean, leak-free mold.
3. Mixing plaster and quartz
To make the plaster mold for glass casting, I use a mixture of 50% hard plaster and 50% quartz. The amount of plaster you need depends on the size of your prototype. To calculate the required amount of plaster mix, use this formula:
(Height x width x depth / 2) x 0.64
The result will be the total amount of water you need for your plaster mix.
Once you know the volume of water required, calculate how much plaster and quartz will be needed. To do this multiply the total amount of water by 2, and the result will be the total investment.
For example, if your prototype mold needs 8.1 liters of water, the total investment will be 16.3 liters, with half plaster and half quartz. This ensures a strong and durable mold for glass sculpture casting.
5. Pouring the plaster into the mold
Slowly pour the plaster mix into the mold cavity. Be cautious to avoid leaks. If any plaster drips, add extra plasticine to seal the corners. To eliminate air bubbles, use an air compressor for a few seconds after pouring. This step helps ensure a smooth and bubble-free glass casting mold.
Final steps and video guide
Once the plaster has set, your mold for glass sculpture is ready for use. If you need a visual guide on how to make a mold, watch this video for a more detailed explanation of the process.
