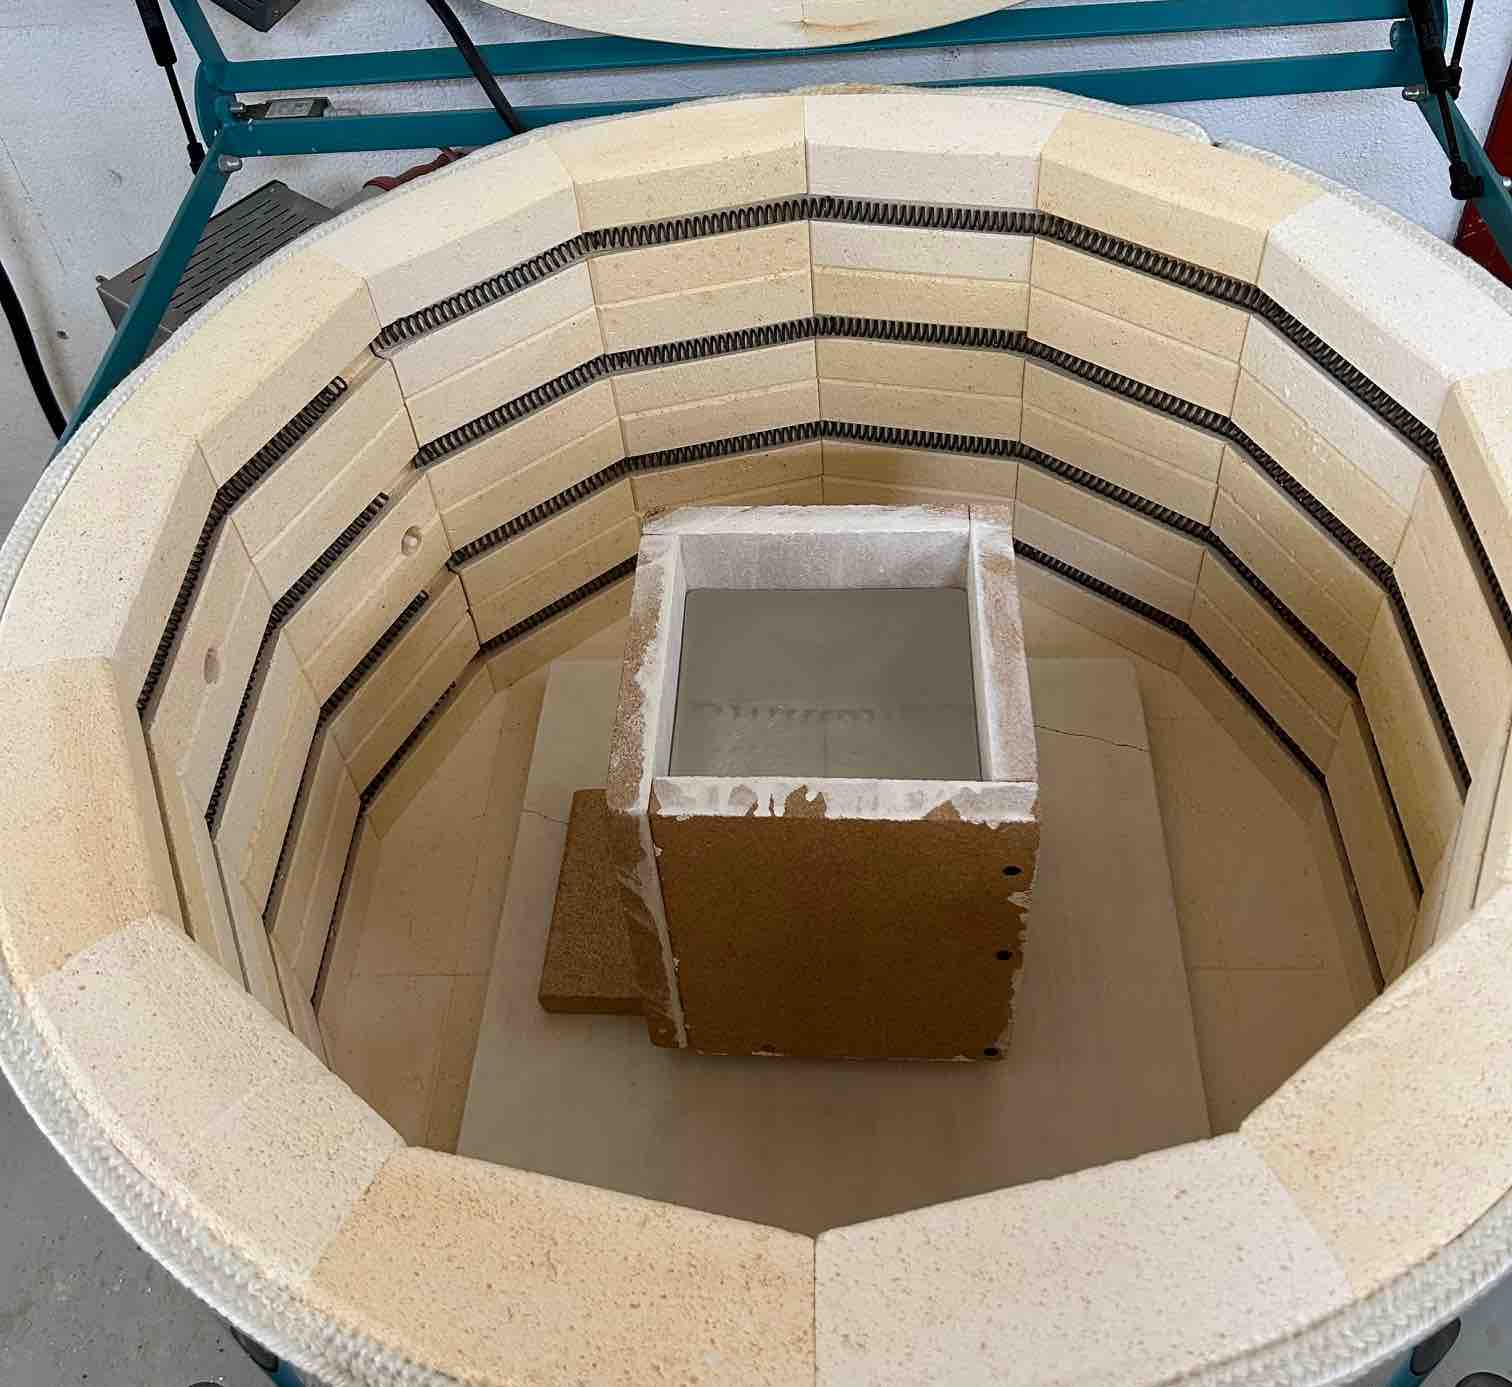
Learning how to cast glass at home is an accessible art form that allows you to create unique glass pieces. With the right techniques, equipment, and training you can learn to melt and mold glass effectively. This article provides a comprehensive guide to the glass casting process. It covers essential equipment, safety measures, material selection, and detailed steps for creating glass art in your own workspace.
Understanding glass casting
Glass casting is a technique that involves shaping molten glass into desired forms using molds. There are several established methods, each with distinctive processes and qualities:
- Kiln casting. A popular method that involves placing glass pieces in a mold within a kiln. The kiln is heated to high temperatures until the glass melts and conforms to the shape of the mold.
- Sand casting. This technique uses a mixture of sand and a binder to form molds. The glass is poured directly into these sand molds.
- Lost wax casting. In this method, a wax model is coated with a mold material. Once the mold is set, the wax is melted away, leaving a cavity for the glass to be poured into.
Challenges of casting glass at home
While learning how to cast glass at home can be a rewarding experience, there are some challenges to consider. The space you have available plays a significant role—working with glass requires a well-ventilated area, a heat-resistant work surface, and enough room for a kiln.
Additionally, kilns vary in their electrical needs. Some small tabletop kilns can run on standard home electricity, but larger models may require three-phase (triphasic) electricity, which is not always accessible in residential buildings.
Before setting up a home glass casting studio, it’s essential to check the power requirements and ensure that your space can accommodate the necessary equipment.
Another crucial factor is proper ventilation. Kilns release fumes and intense heat, which can accumulate in enclosed spaces if not properly managed. Installing an exhaust system or working in a well-ventilated area is essential to maintain air quality and prevent excessive heat buildup.
Hygiene and dust control are also major concerns, especially when working in a home environment. Many glass casting processes involve fine powders such as silica, plaster, and investment materials, which can become airborne and settle in unintended areas. If you’re working inside your home, it’s crucial to keep the workspace separated from living areas and to regularly clean surfaces to prevent contamination. Wearing a respirator when handling powders and ensuring they do not spread to other rooms will help maintain a safe and clean working environment.
Benefits of home glass casting
Casting glass at home presents opportunities for both hobbyists and serious artists. Some benefits include:
- Creative freedom. Artists can experiment and design unique pieces that reflect their style and creativity.
- Skill development. Home casting encourages learning and mastering various techniques, leading to greater expertise over time.
- Customized pieces. The ability to create custom designs means fulfilling specific project requirements or personal ideas.
Essential equipment needed for glass casting
To successfully cast glass, having the right equipment is crucial. This includes protective gear and specific tools for the casting process. Below are the key components needed for glass casting.
Safety gear and precautions
Safety should always be a priority when working with glass. The following items are essential for protecting oneself and may vary depending on the type of glass process you choose:
- Heat-resistant apron. This protects clothing and skin from high temperatures during the casting process.
- Safety goggles. Essential for protecting the eyes from glass shards.
- Heat-resistant gloves. These are critical when handling hot materials to prevent burns.
- Respirator. Important for filtering airborne particles and fumes generated during glass grinding or heating.
- Arm protection. Adequate coverage for arms to guard against potential burns when working close to high-temperature areas.
Kiln and temperature control
A kiln is a fundamental piece of equipment for glass casting, as it allows for controlled heating:
- Glass kiln. Select a kiln that reaches the necessary temperatures for melting glass, typically between 750 ºC (1400°F) and 950 ºC (1800°F).
- Temperature controller. A reliable way to monitor and adjust the kiln temperature for consistent results.
- Shelf and kiln wash. These are used to create a protective barrier between the glass and the kiln shelves, preventing sticking.
Working with molds
Molds are essential in shaping glass during the casting process. Consider the following factors when working with molds:
- Choose the type of mold (plaster, vermiculite, or sand) according to the desired outcome
- Properly prepare the mold to ensure smooth pouring and minimize blemishes on the glass.
Choosing your materials
Choosing the right materials is crucial for successful glass casting. The materials not only affect the quality of the final product but also impact the casting process itself. Understanding different types of glass and mold materials is key to achieving desirable results.
Types of glass for casting
When selecting glass for casting, it is important to consider various types that may suit the project. Common options include:
- Transparent glass: Ideal for projects requiring clarity and light transmission.
- Colored glass: Adds vibrancy to the finished piece, available in various shades.
- Frit glass: Ground glass that is used to create specific textures and effects.
- Pulled or blown glass: Often used for incorporating unique shapes and designs.
Selecting the right mold material
The choice of mold material influences the casting process significantly. Each type has its strengths and weaknesses that make it suitable for different projects.
Plaster molds
Plaster molds provide smooth finishes and are suitable for detailed casting. They can retain finer details well but require careful handling due to their brittleness.
Lost wax casting molds
This technique involves creating a mold from a wax model. The wax is melted away once the mold is formed, allowing the glass to fill the cavity left behind. This method is excellent for intricate designs and finer details.
Sand casting molds
Sand-casting molds are popular for their affordability and ease of use. This method uses treated sand to create a mold that can withstand the high temperatures of molten glass.
Preparing your workspace
Creating a safe and efficient workspace is crucial for successful glass casting. A well-organized area allows for streamlined processes and minimizes risks associated with working with glass and high temperatures.
Your workstation should be thoughtfully arranged to facilitate the casting process. It’s important to have ample space to move around and store materials. Consider the following elements when setting up:
- Accessibility: All tools and materials should be within reach to prevent unnecessary movement while handling hot glass.
- Organized storage: Utilize bins or shelves to store items like molds, glass, tools, and safety equipment systematically.
- Heat resistance: If you manipulate hot glass outside the kiln, make sure you have a heat-resistant surface to protect against spills and high temperatures.
- Lighting: Ensure the area is well-lit to observe small details during the casting process. This is critical to be able to inspect the piece properly after every grinding stage and anticipate any potential scratches.
Ventilation and safety measures
Good ventilation is vital when casting glass to protect against fumes and ensure air quality. Implement the following safety measures:
- Ventilation system: Install an exhaust fan or use portable fans to help circulate air and remove any harmful vapors.
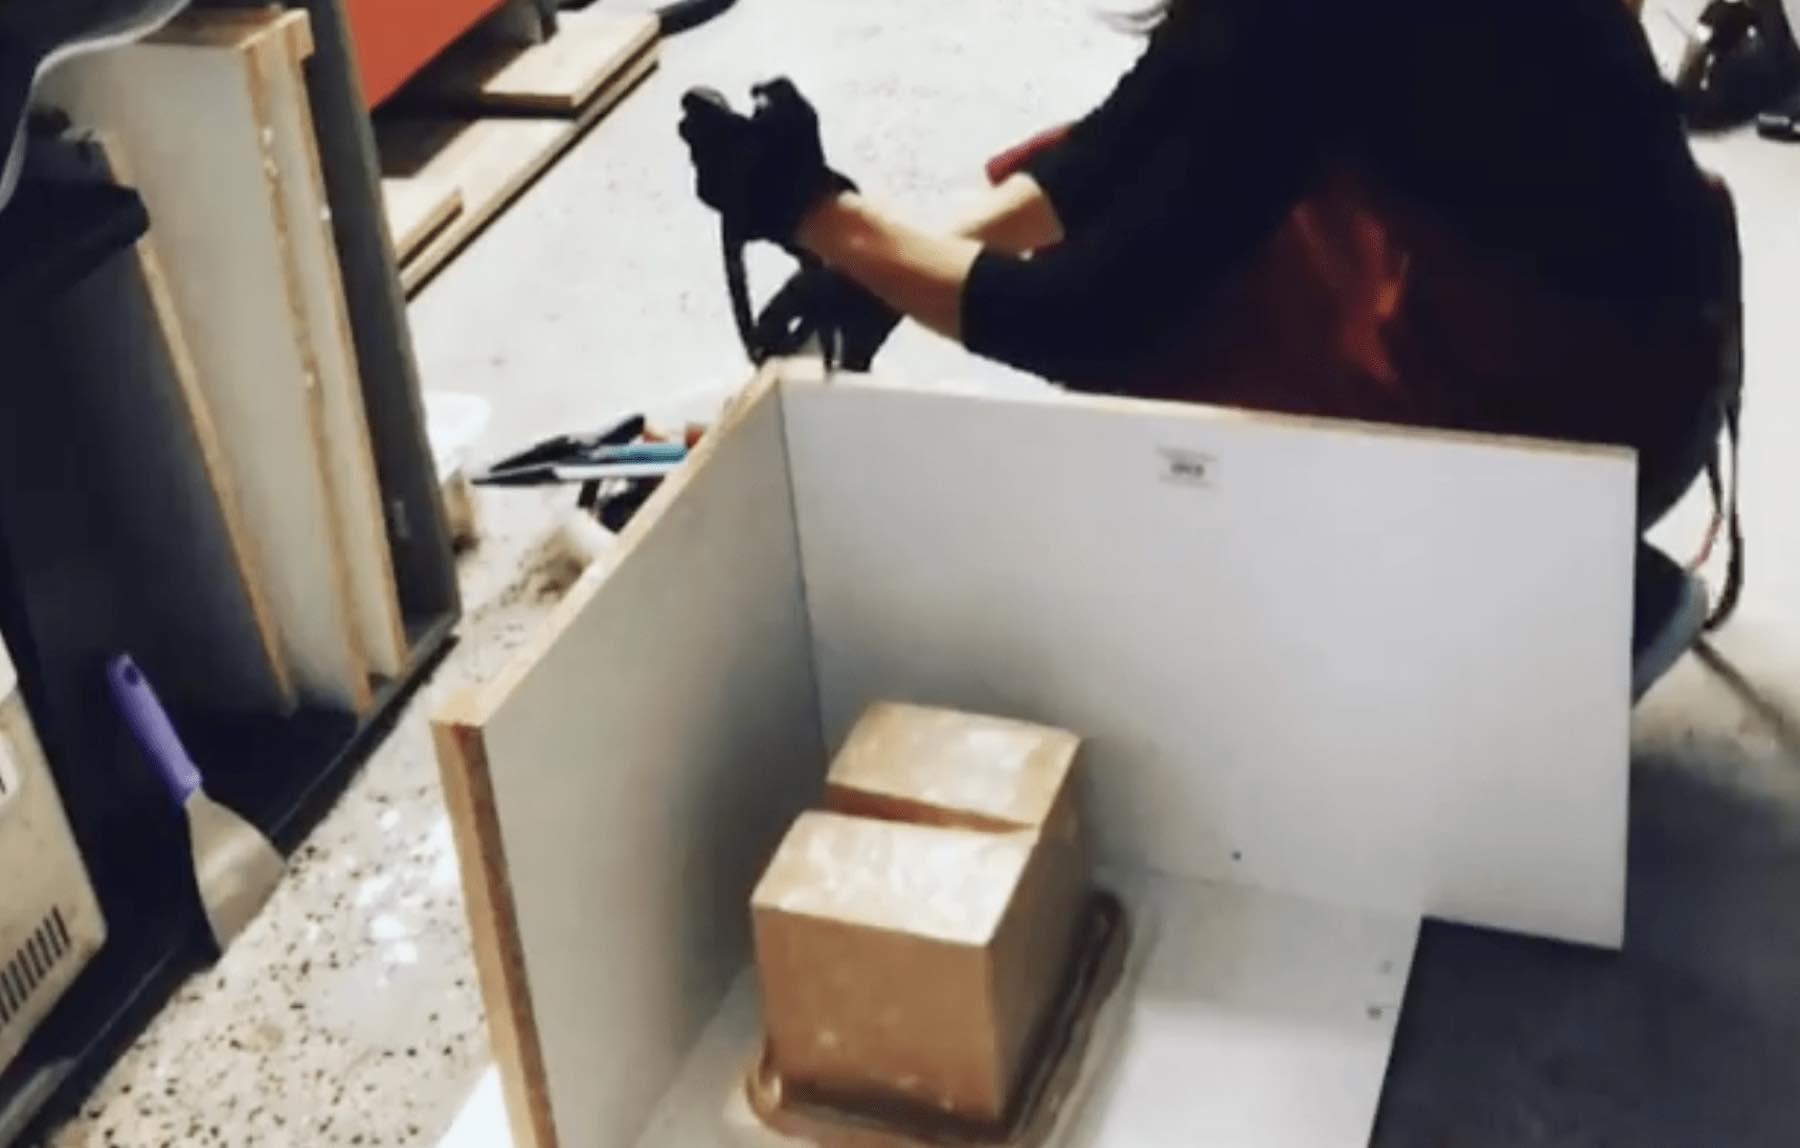
- Protective barriers: Use screens or barriers to limit dust and debris in the workspace.
- Safety equipment: Keep safety gear, including goggles, gloves, and heat-resistant clothing, readily available and clearly marked.
- Emergency protocols: Establish clear emergency procedures, including the location of fire extinguishers and first aid kits.
Creating your design
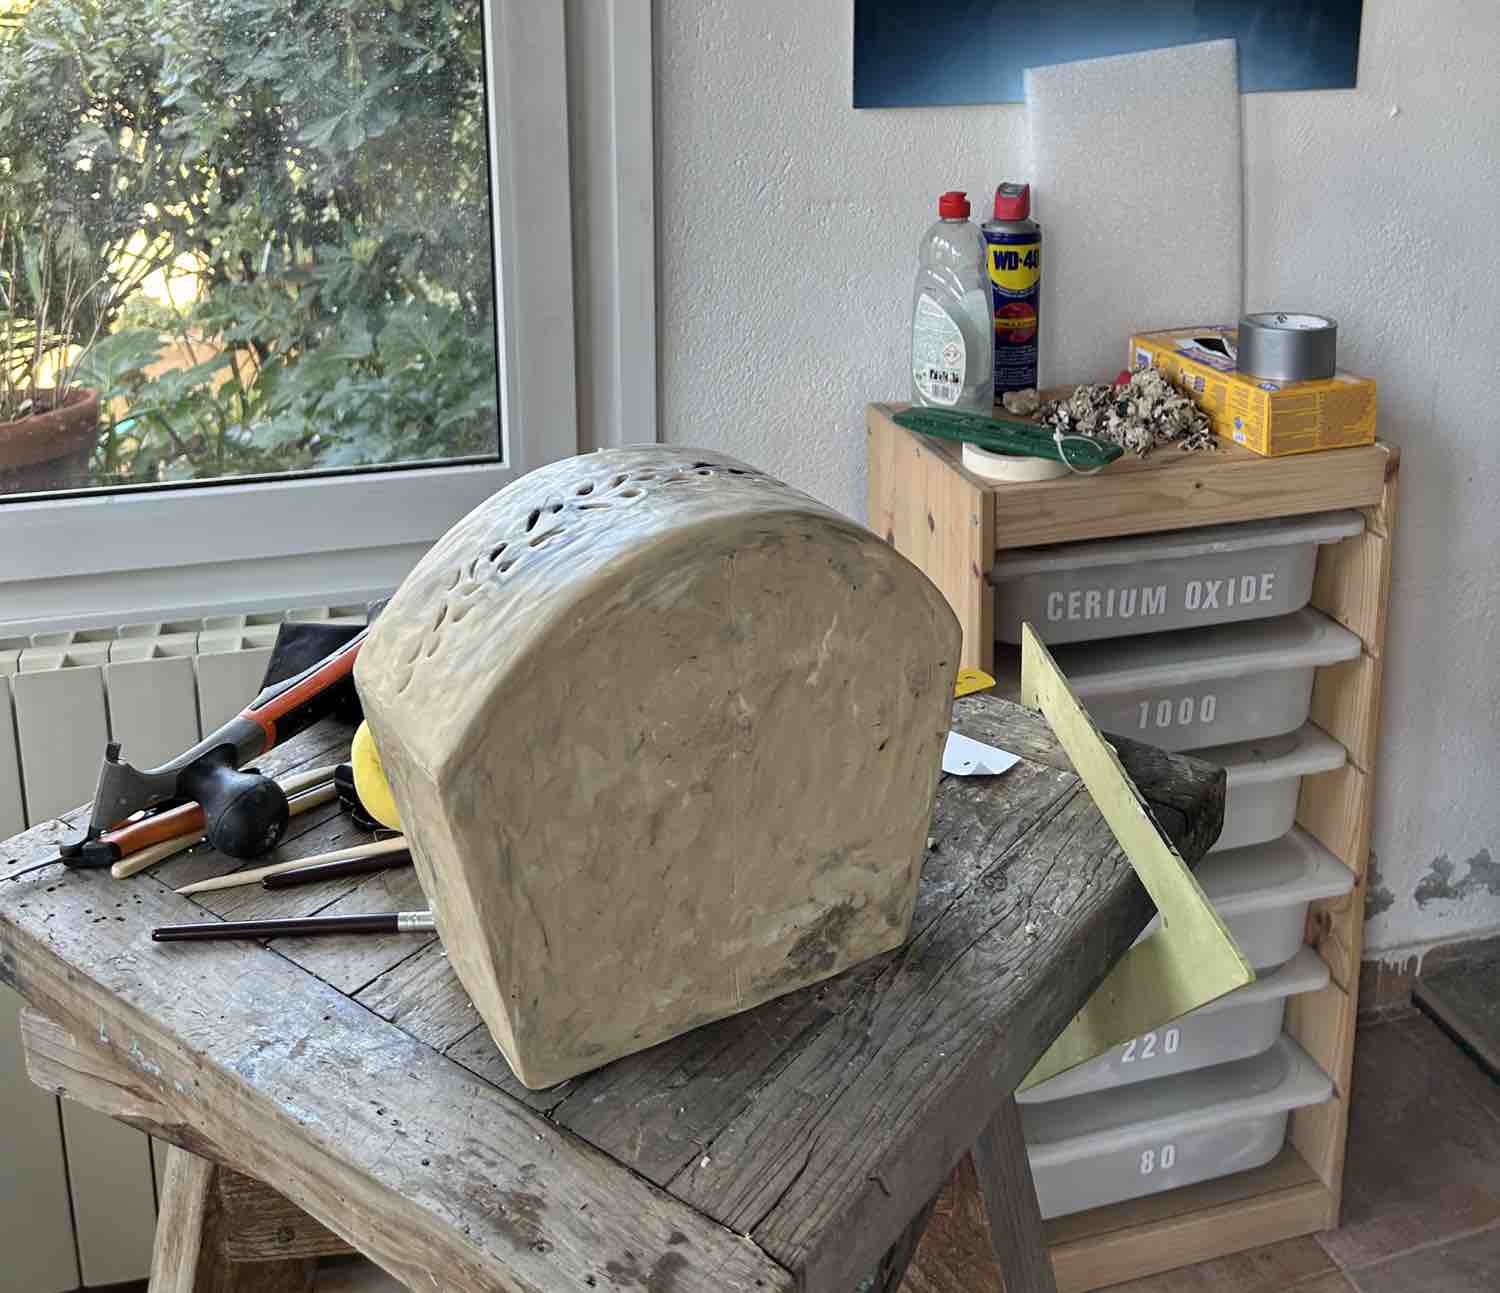
Designing a glass piece requires careful planning and consideration. A well-thought-out design not only enhances creativity but also influences the casting process.
The first step in creating a glass design is to sketch out ideas on paper. This allows for experimentation with shapes, dimensions, and overall aesthetics. A few guidelines to consider during this phase include:
- Determine the size of the piece in relation to your workspace and available molds. Proportions will play a significant role in the final appearance.
- Consider how the piece will be used. Decorative items may have different design requirements compared to functional pieces like glassware.
- Ensure that your design is compatible with the chosen casting technique and mold type. Complexity can be beautiful but may also introduce challenges in the casting process.
Once the sketch is complete, the next step involves transferring the design into the mold considerations. This step is crucial for achieving the desired outcome.
- Material choice: Selecting the right mold material is key. Each mold type has unique characteristics that affect the detail and finish of the glass piece.
- Glass flow: Anticipate how the molten glass will flow into the mold. Sharp angles and intricate designs may require special attention to detail in mold preparation.
- Dimensional accuracy: Ensure that the mold replicates dimensions accurately. Slight deviations can lead to significant differences in the final piece.
Lastly, it’s essential to visualize the finished product, taking into account how light interacts with the glass. This can dramatically affect the perceived color and texture.
The casting process
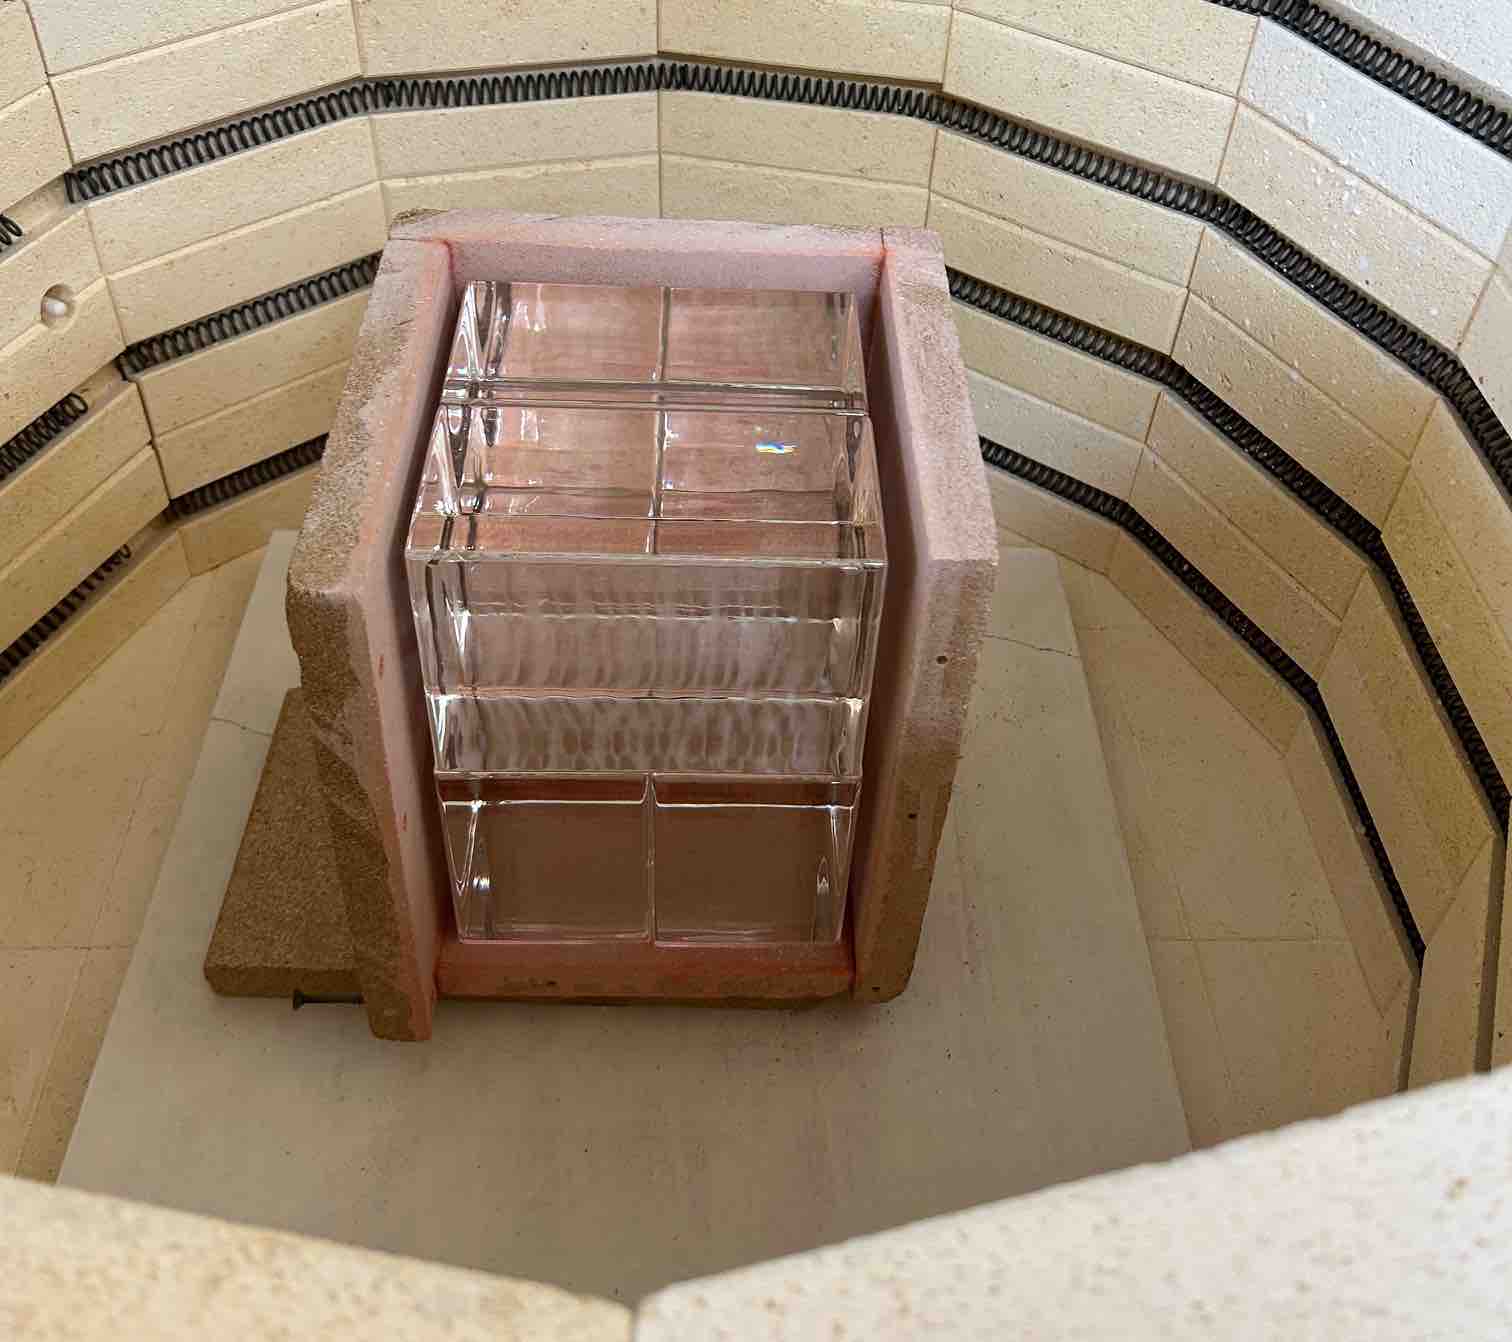
The casting process is a crucial stage in glass casting, where the glass is transformed from a solid state to a liquid and finally shaped into the desired form. This process involves specific techniques to ensure successful results.
Melting the glass
Melting the glass is the first pivotal step in the casting process. It requires careful attention to temperature and timing to achieve the optimal molten state.
A kiln is essential for melting glass, as it provides the required high temperatures. It must be preheated before placing the glass inside (or you can include the preheating stage as part of your firing schedule).
Utilizing a kiln allows for an even distribution of heat, which is critical for achieving a consistent melt. When loading the kiln, ensure that the glass pieces are clean and free of contaminants, as impurities can affect the final product.
Monitoring temperature
Temperature control is vital during the melting phase. For example, in my casting process my pieces are fired in a kiln at 850ºC and cool down for over two weeks, following a 14-stage temperature monitoring system to ensure uniform cooling.
The ideal temperature range typically falls between 1400°F to 1800°F, depending on the type of glass being melted. Using a reliable pyrometer can help monitor the temperature accurately. Adjustments may be necessary to maintain an even heat level, as fluctuations can lead to defects in the cast glass.
Allowing for cooling and solidification
The glass must undergo a controlled cooling process. Rapid cooling can cause stress and lead to breakage.
Leave the cast piece in the mold to cool slowly until it reaches room temperature. Depending on the thickness, this process can take several hours to days. Proper cooling allows the glass to solidify evenly, resulting in a durable finished product.
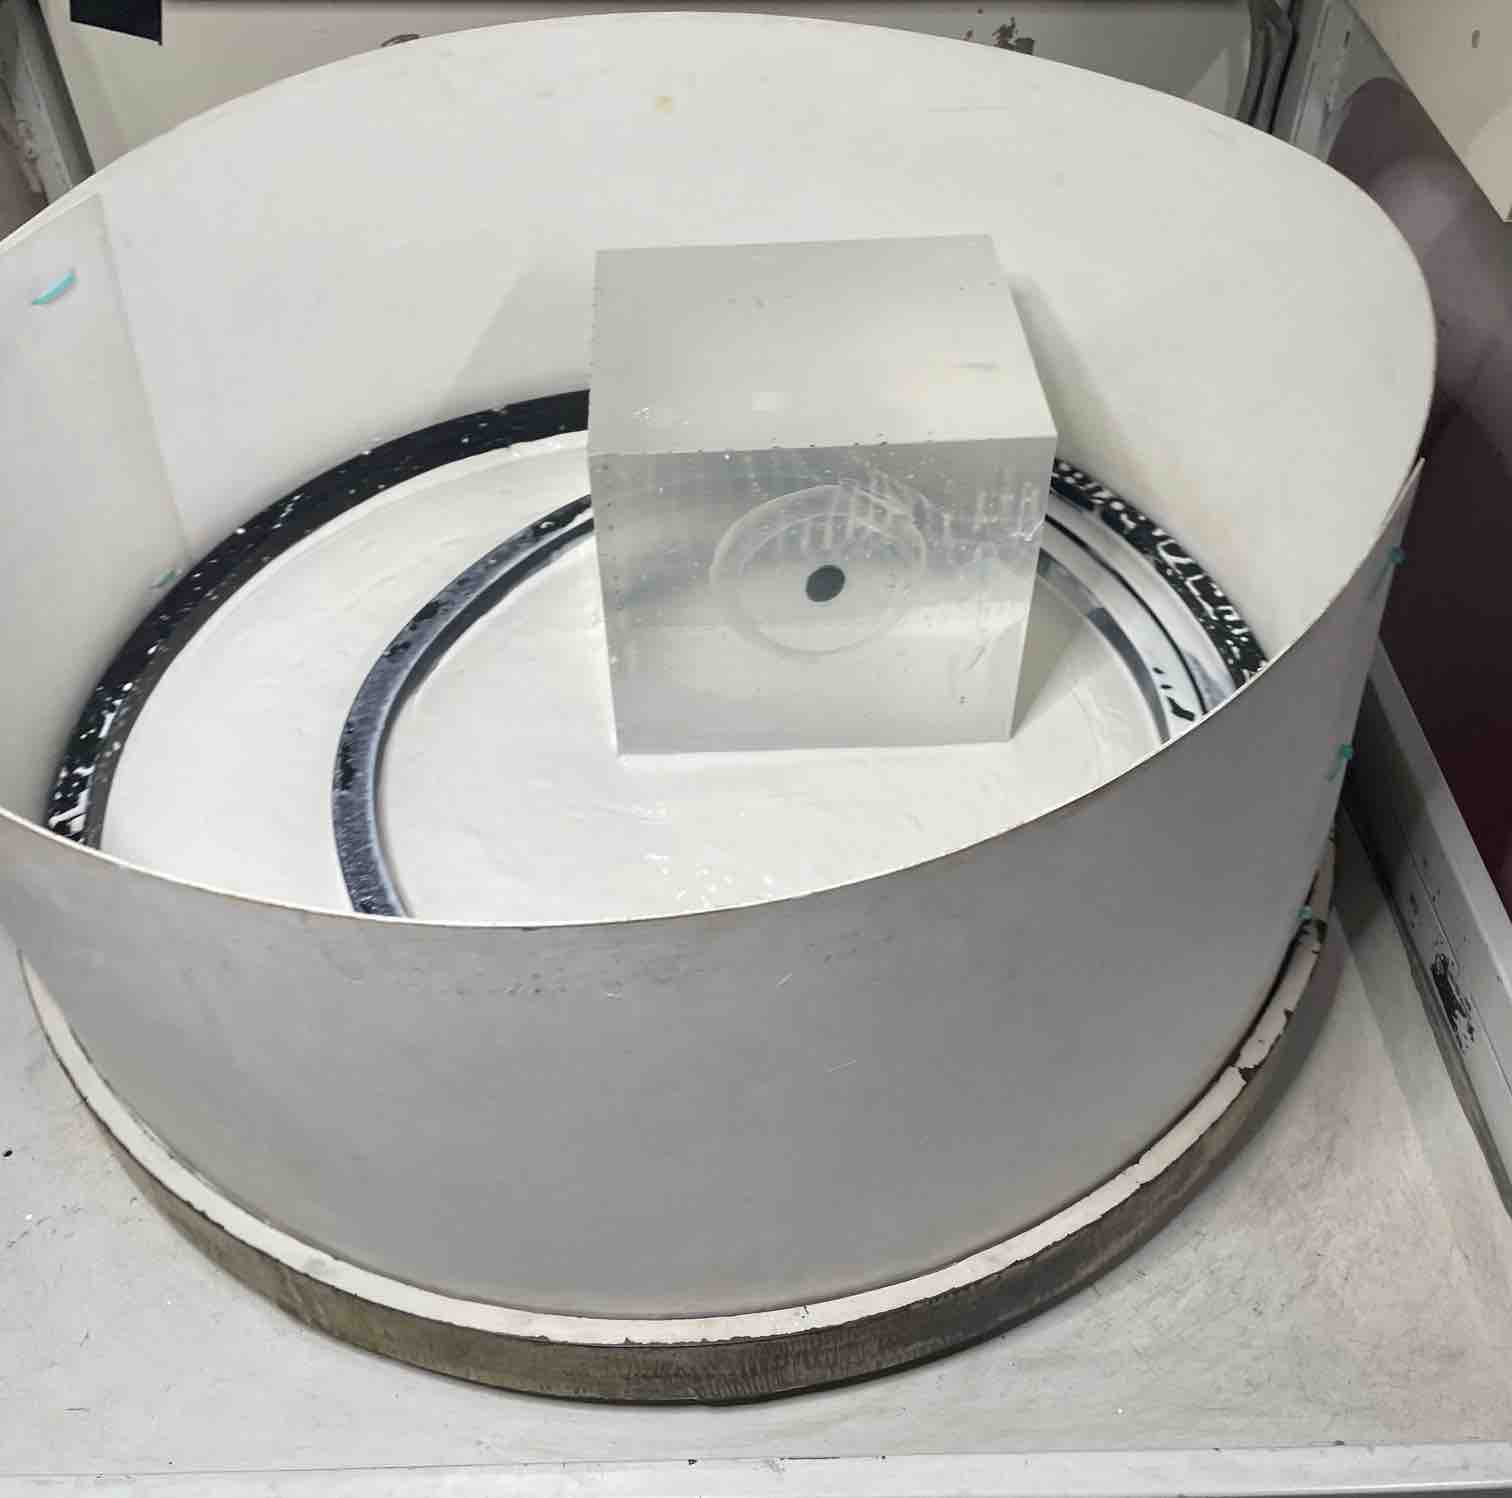
Unmolding and finishing
After the glass has cooled and solidified, the next steps involve removing it from the mold and refining its surface. This process of unmolding and finishing is crucial to achieving a polished and professional-looking final piece.
Removing the mold
Carefully extracting the glass from the mold is essential to ensure the integrity of the piece. The method of removal will depend on the type of mold used.
Plaster molds may require breaking them away gently. Use tools like spatulas or chisels (avoid metal ones) to help ease the piece out without applying excessive pressure that could compromise its structure.
Cleaning and polishing your glass piece
Once the glass has been removed from the mold, it often requires additional refining to achieve the desired finish. Here are the main cold working techniques used to refine and perfect glass pieces:
- Grinding: This is a crucial step in refining glass pieces. For heavy-duty work, diamond grinders are often used due to their durability and efficiency in smoothing rough surfaces. However, for more delicate or detailed grinding, silicon carbide offers a slightly softer, more controlled option.
- Polishing: After grinding, polishing is the final step in achieving a smooth and glossy surface on the glass. This process is done using abrasive polishing compounds and buffing wheels. Polishing not only removes any remaining scratches or roughness but also enhances the glass’s clarity.
After cold working, a thorough cleaning is vital. Rinse the piece with water to remove any dust, followed by polishing with a glass cleaner or specialized polishing compound. This not only enhances clarity but also provides a protective sheen.
Troubleshooting common issues
When casting glass, encountering issues can be common. Understanding how to address these challenges will improve the quality of the final product and enhance the overall experience of glass casting.
Cracks and bubbles are prevalent issues that can compromise the integrity and aesthetics of glass pieces. To prevent them, consider the following strategies:
- Temperature control: Ensure the kiln is accurately calibrated. Uneven temperatures can lead to thermal stress, causing cracks.
- Smooth glass surface: Always start with clean, smooth glass pieces. Contaminants can lead to bubbles when melted.
- Slow cooling: Implement a gradual cooling process rather than allowing the glass to cool quickly, which can introduce stress.
- Check the mold: Ensure molds are free of debris and properly prepped to prevent surface imperfections.
Best practices for successful glass casting
Achieving success in glass casting involves understanding techniques, refining processes, and employing best practices.
Maintaining high standards in glass casting yields better results over time. Here are some essential guidelines:
- Consistent measurements: Accurate measurement of materials, especially the glass and mold components, minimizes variations that can lead to defects.
- Controlled environment: Conducting casting in a stable temperature environment helps to reduce inconsistencies.
- Calibrate equipment: Regularly check that the kiln and other tools function correctly to ensure optimal performance.
- Practice patience: Allowing adequate time for the glass to cool prevents cracking and ensures the integrity of the final piece.
- Document processes: Keeping a detailed record of procedures, temperatures, and timings can help replicate successful casts while identifying areas for improvement.
