Understanding the glass casting process: A step-by-step guide
Glass casting is the process of melting glass into a mold where it solidifies to create a sculpture. In fact, this ancient technique dates back to the Egyptian period and remains a cornerstone of modern glass art. Today, the most common glass casting techniques include kiln casting and sand casting.
The technique I use for my glass sculptures is kiln casting. Below are the 7 essential steps I follow to cast glass:
How to cast glass: 7 steps
1. Design your sculpture
The first step in the glass casting process is designing your sculpture. Begin by sketching your idea (though freeform designs work too) and shaping it with a suitable material like modeling clay or wax. I prefer using a specific modeling clay that doesn’t dry out, allowing me to take my time without worrying about moisture.
If you choose to shape your model in wax, be prepared to melt it out later using the lost wax casting technique. Alternatively, you can use materials like styrofoam or combine clay and styrofoam for more complex shapes.
Tip: Ensure that any material you use is compatible with plaster to avoid it sticking to the investment mold.
2. Make the plaster mold
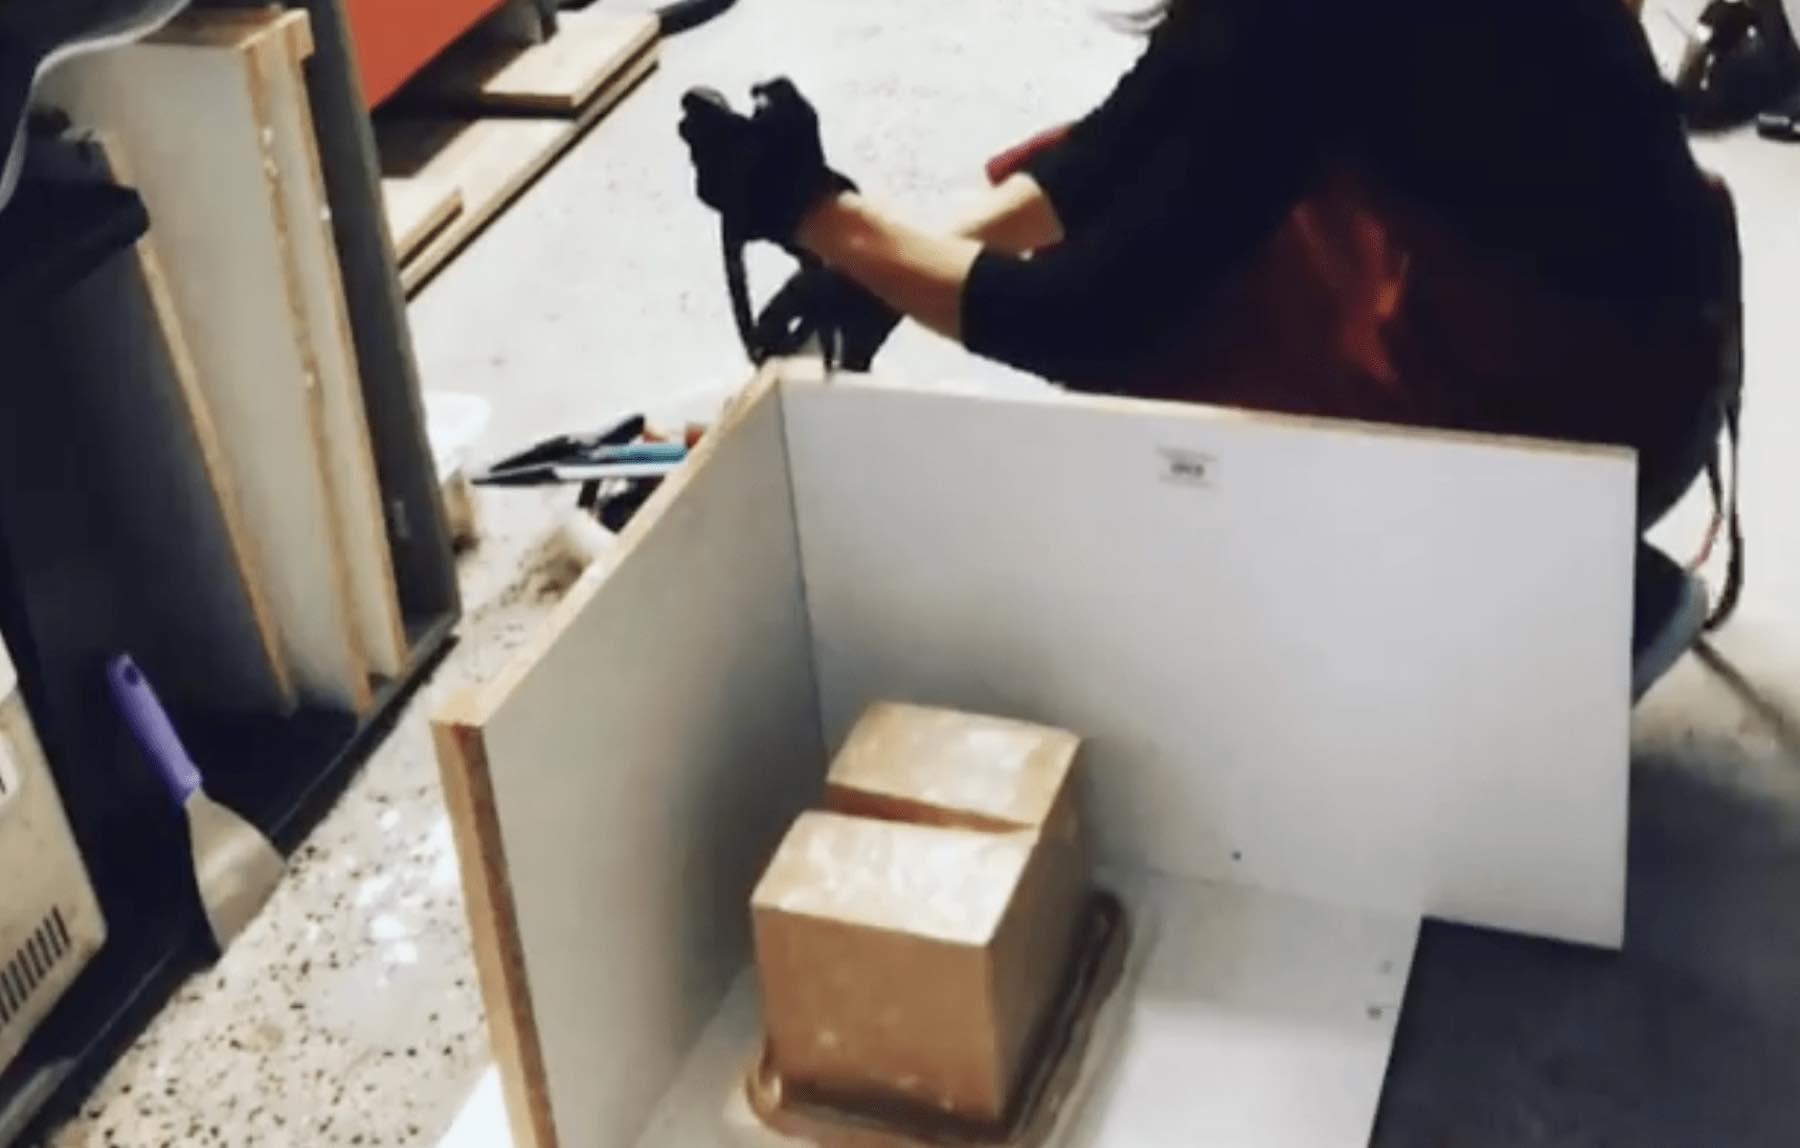
This step can get messy! Start by building a wall around your model using nonporous melamine panels, securing them with clamps and screws to prevent leaks. Coat the inside of the walls with a release agent to keep the plaster from sticking.
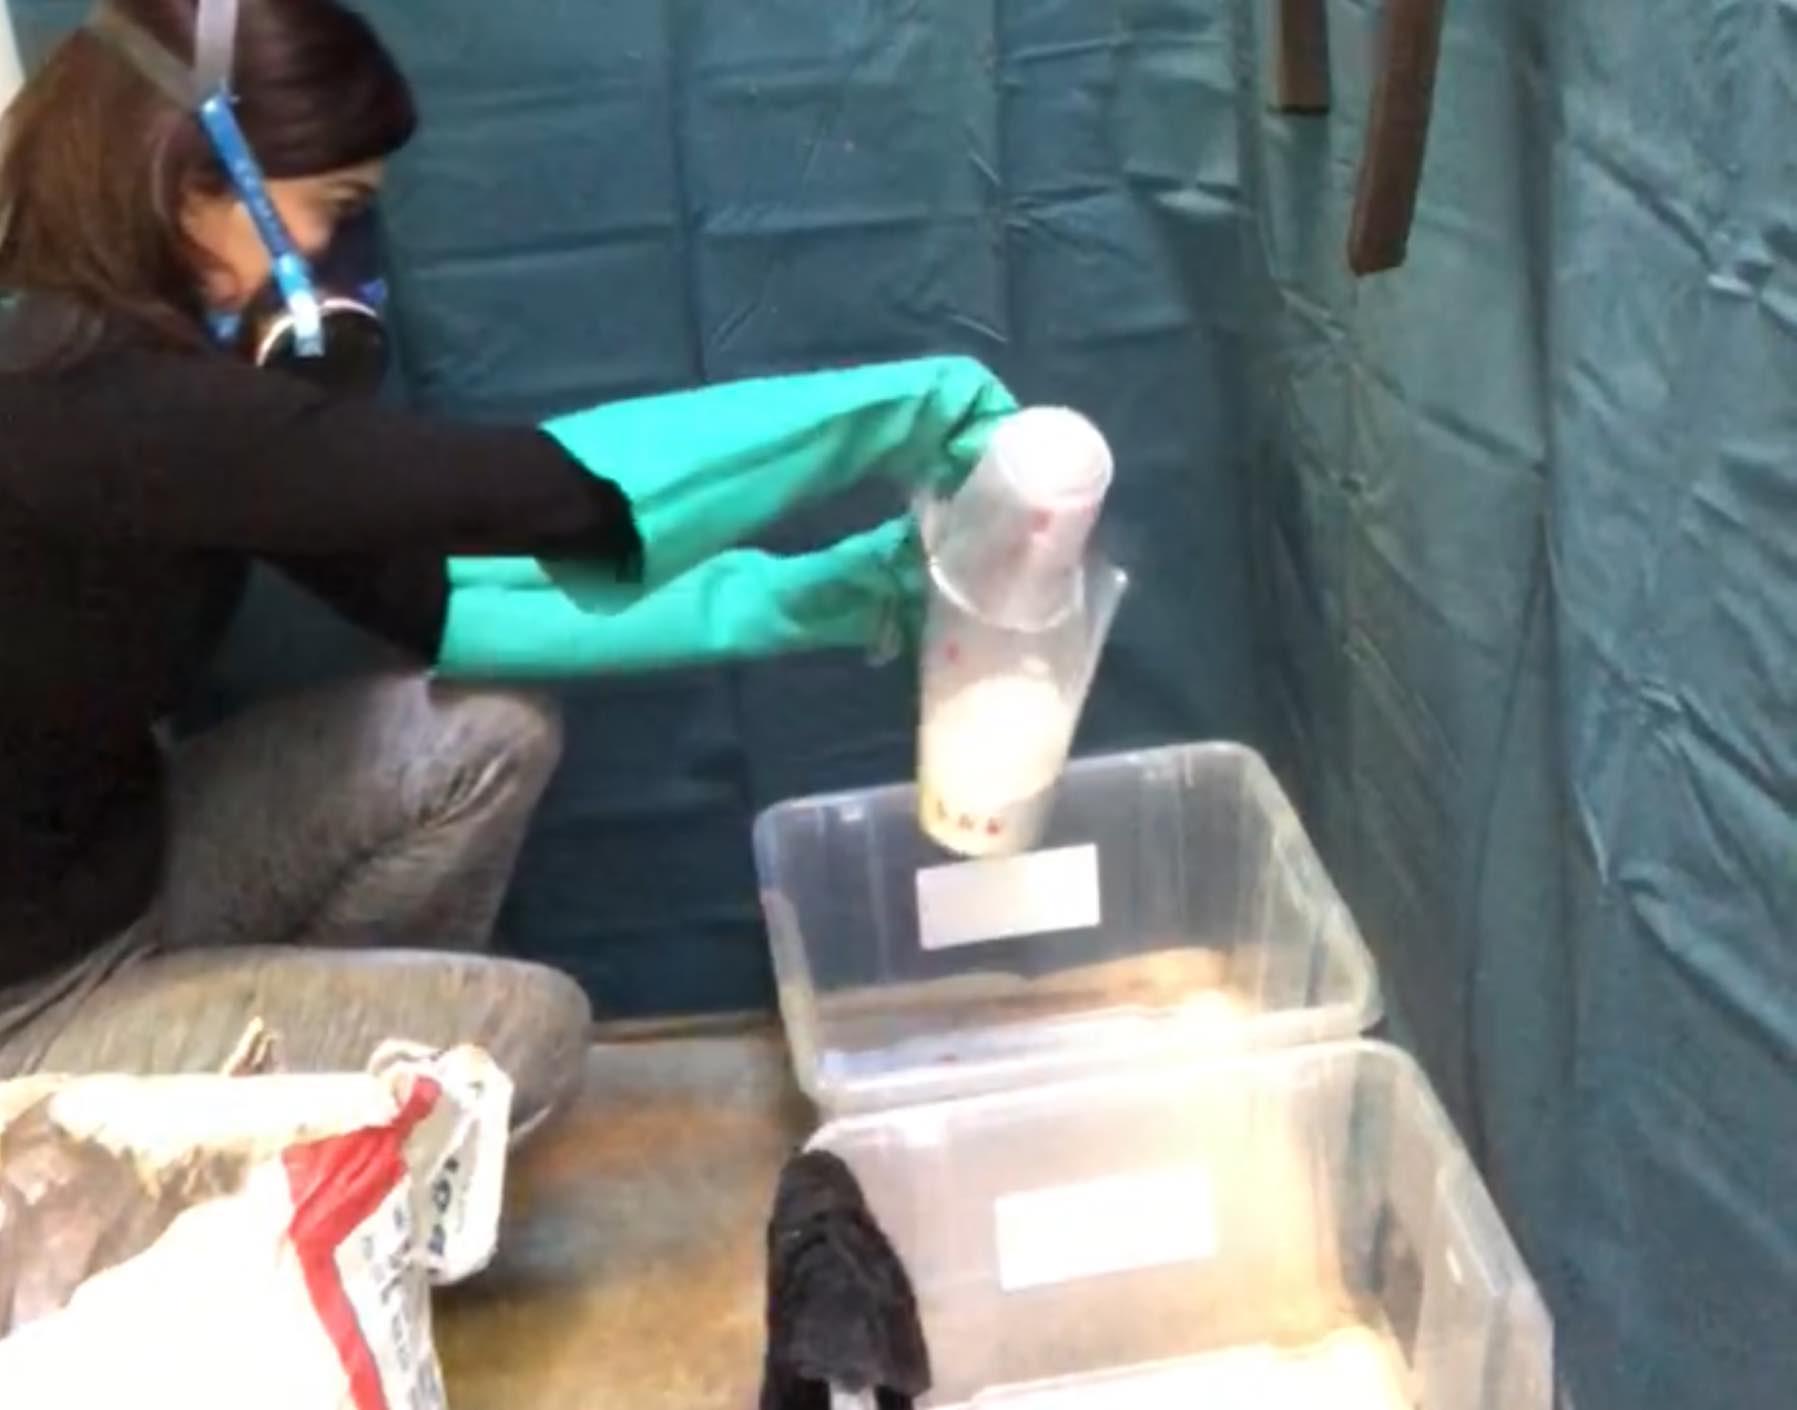
Then, prepare the investment mix with equal parts of hard plaster (50%) and silica powder (50%). (You can find a more detailed explanation for your investment calculations in this other post.)
Pour the mix slowly into the cavity, covering the entire prototype and adding a couple of extra inches of liquid.
After that, use an air compressor to remove bubbles on the surface.
Warning: Improper assembly of the walls may cause plaster leaks, making a big mess. To prevent this, seal all joints with clay.
Tip: Always wear an FFP3 mask to protect your lungs from harmful silica dust.


3. Remove the model from the mold
When the plaster has dried (typically after a few days), remove the melamine walls and carefully flip the investment mold. Meanwhile, if using modeling clay, remove it gently to avoid damaging the mold. If using wax, melt it out with a heating tool.
Clean the mold thoroughly and let it dry completely before proceeding to the next step.
Pro Tip: You can create a silicone mold after step 1 to preserve your prototype before destroying it during removal.
4. Calculate the amount of glass needed
To determine how much glass you’ll need, fill the mold with water and measure the volume. You can do this by pouring the water back into a container and weighing it or just weighing the water before you pour it inside the mold. Just make sure you only spend a few minutes doing this so the mold doesn’t get too humid.
Once you have the total volume, multiply the weight of the water by 2.5 (the density of glass) to get the necessary glass volume.
You can use glass billets or alternative glass shapes to obtain specific patterns inside the sculpture. The type of glass you use will determine your results. I use optical glass from Ohara to achieve crystal-clear transparency.
Tip: Precision and experimentation in this step can make a big difference if your main focus is on what happens inside the sculpture instead of external shapes.
5. Place the glass inside the mold
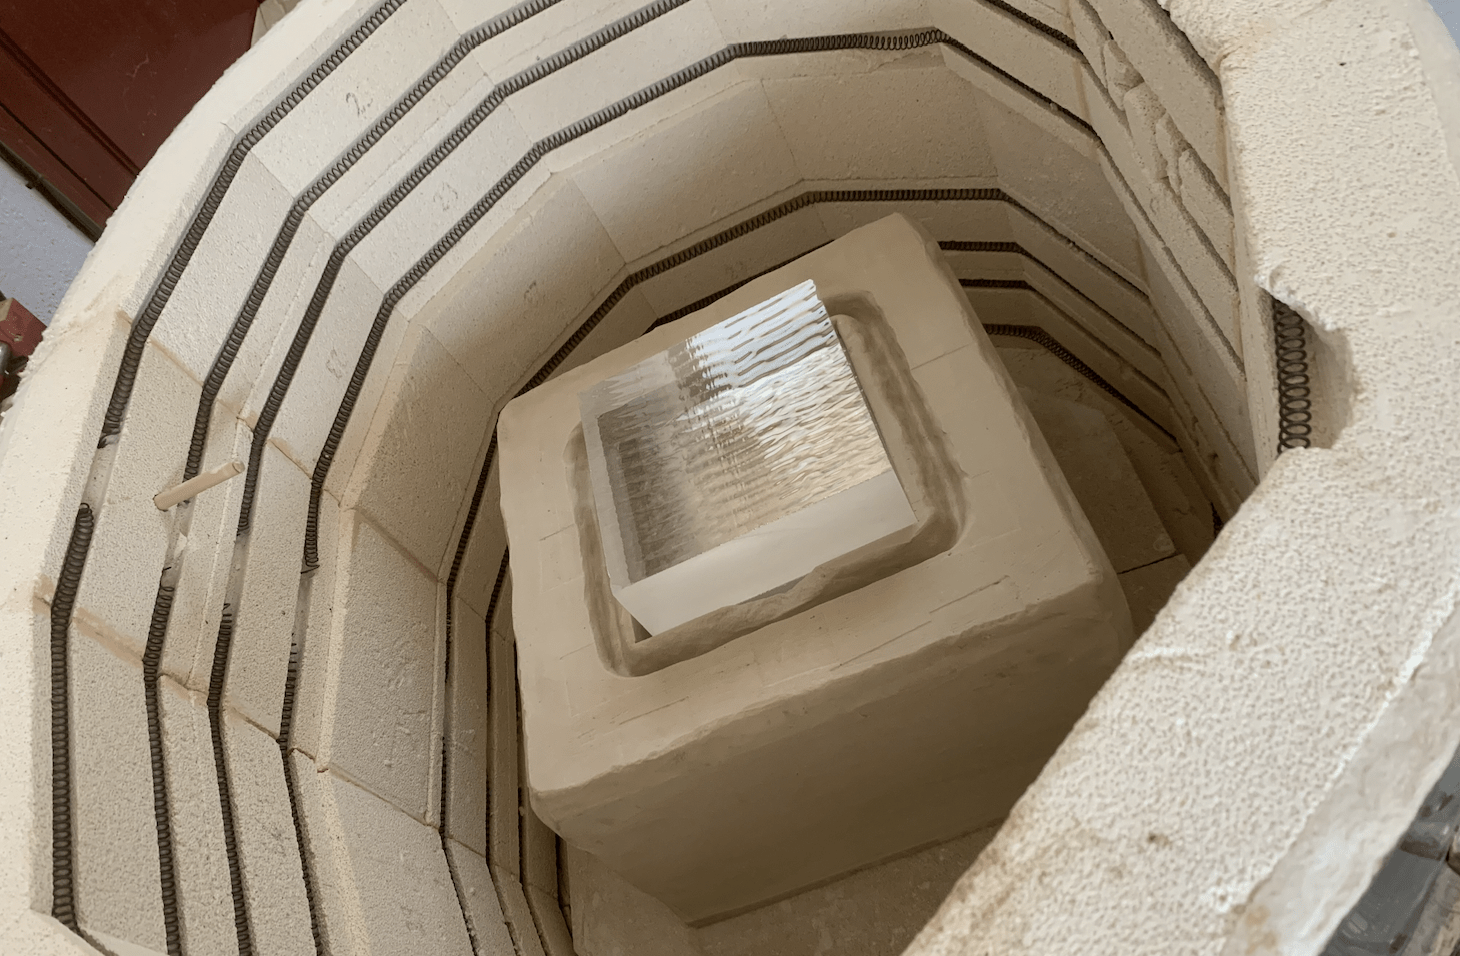
Before placing the glass inside the mold, thoroughly clean it and the kiln. Use diluted white vinegar or distilled water to clean the glass, and wear gloves to avoid fingerprints.
Tip: Never use soap, alcohol, or products containing ammonia, as they can cause devitrification during firing.

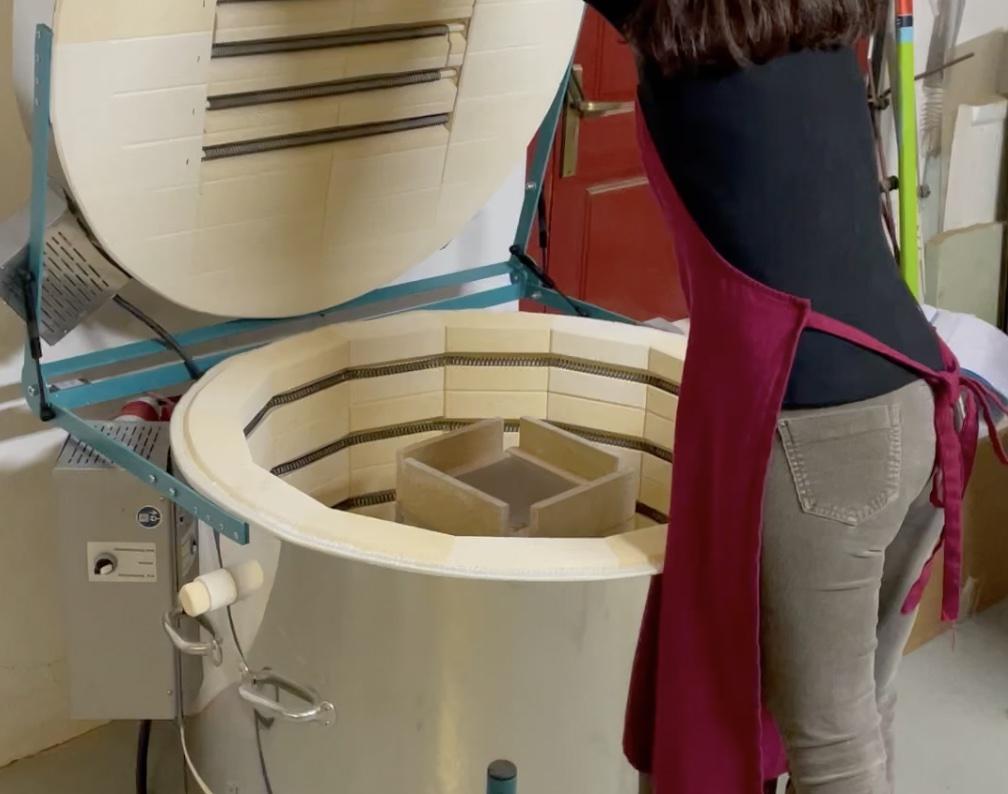
6. Fire the glass in the kiln
Firing temperatures depend on the glass type and sculpture size. My schedule for optical glass sculptures often takes up to two weeks, with a gradual increase to 850ºC followed by slow annealing and cooling.
Finally, once the firing schedule has been completed and the kiln has reached room temperature you can break the mold with a rubber hammer (my favorite part) and start the polishing process.
Tip: The annealing process is crucial. Lower the temperature gradually to prevent cracking or shattering.
7. Polishing your glass sculpture
After firing, the sculpture will have an opaque surface that needs grinding and polishing to achieve optical transparency. Follow a thorough polishing process to enhance the final appearance of your artwork.
For a complete guide on polishing techniques, check out my post on how to polish glass for optical transparency.
