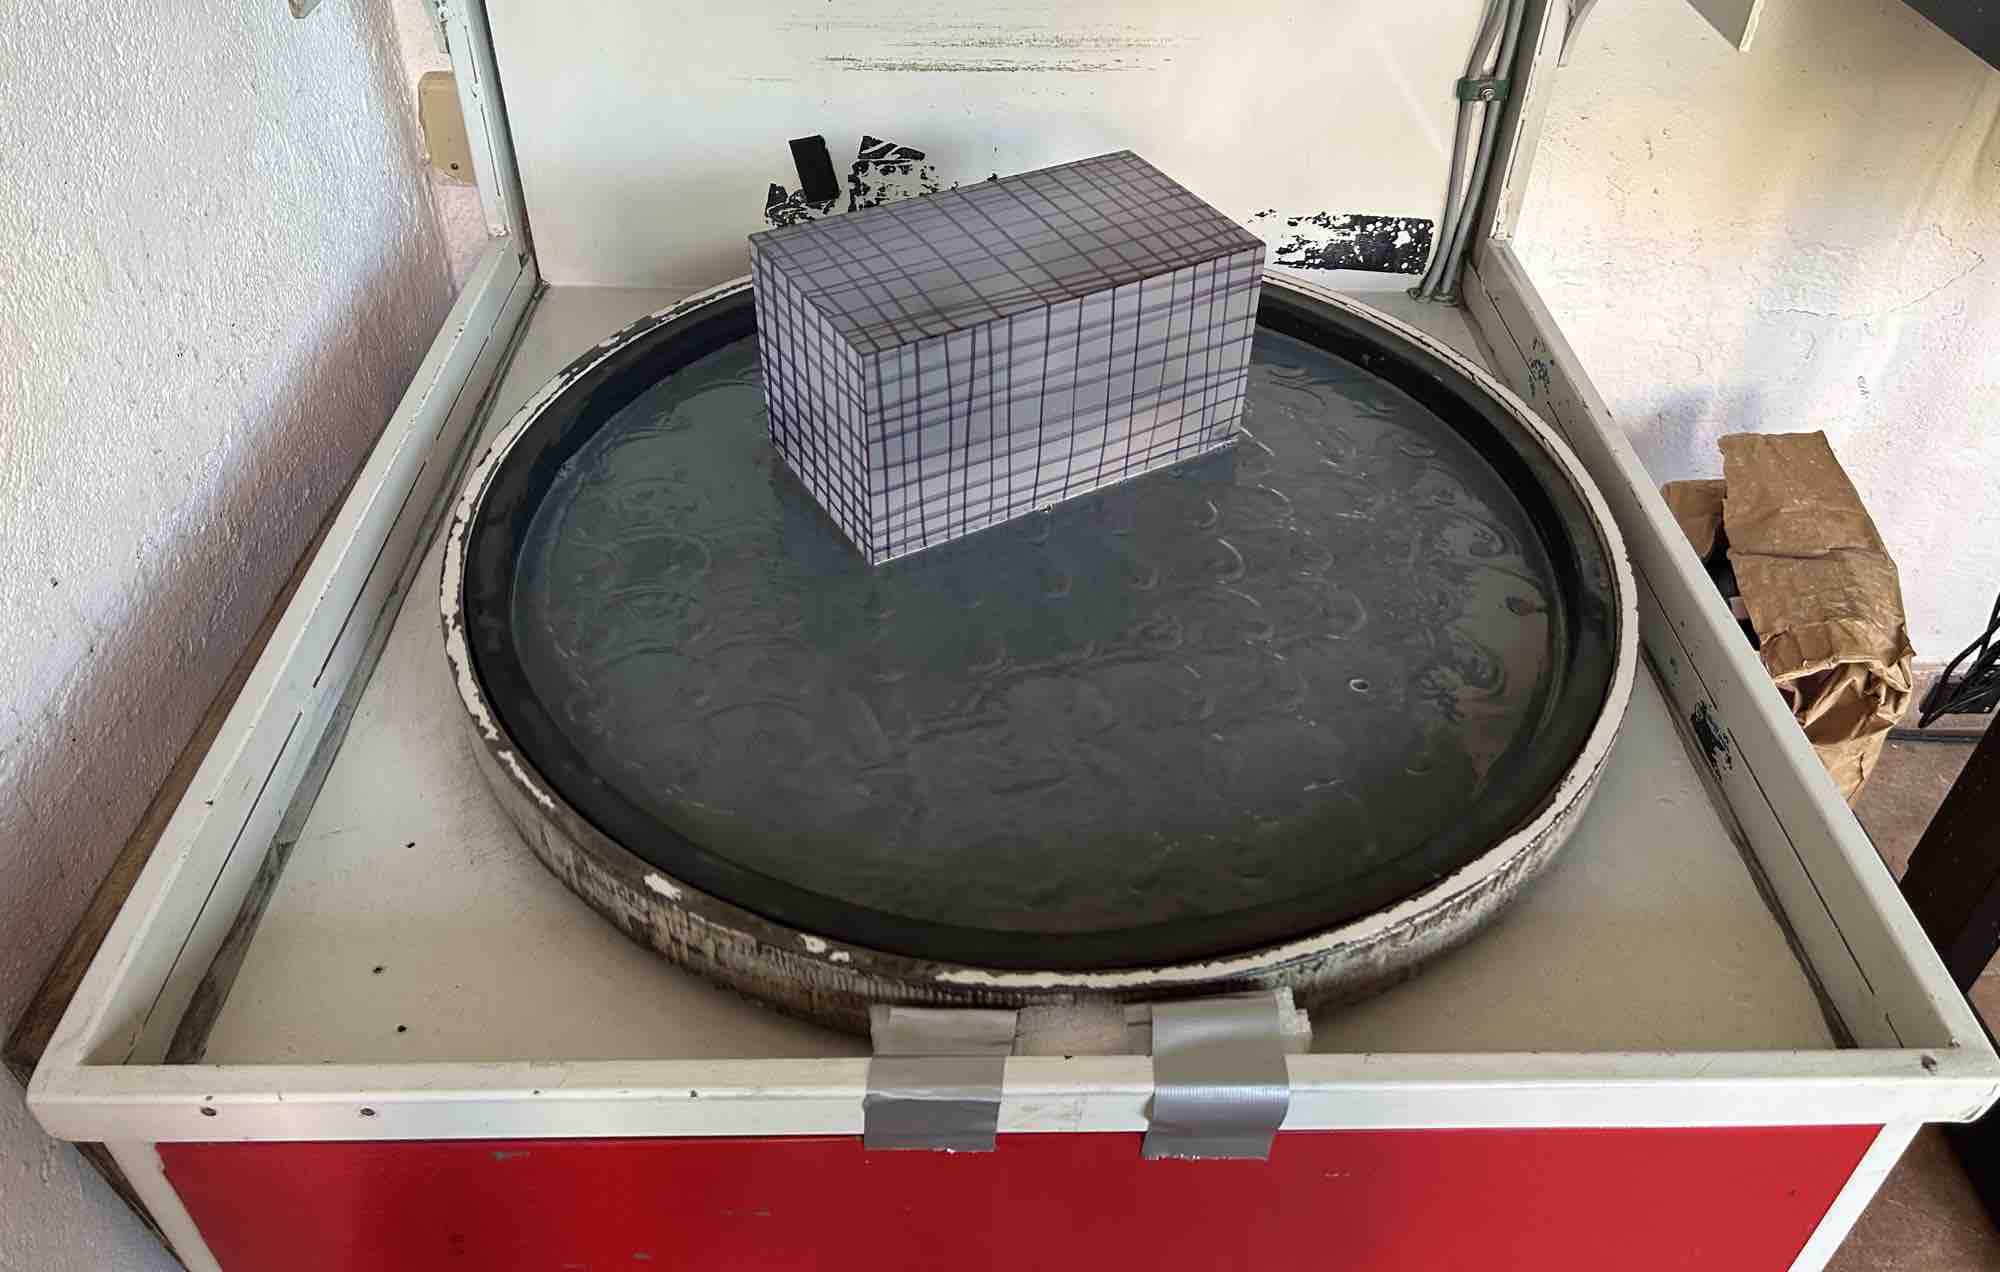
Achieving a flawless finish on optical glass sculptures requires patience, precision, and the right techniques. Polishing is a crucial step in bringing out the true beauty of the material—its clarity, refraction, and ability to capture light.
Whether you are a seasoned artist or just starting, here are some essential tips for polishing a glass sculpture.
1. Understand your glass
Optical glass differs from other types of glass in its composition and properties. It is typically made with higher-quality raw materials and has fewer impurities, resulting in greater clarity and brilliance. However, this also means it can be more challenging to polish. Familiarize yourself with the specific type of optical glass you’re working with, as different compositions can require slightly different techniques.
2. Start with proper grinding
Polishing begins long before you actually start polishing. The initial grinding stages set the foundation for a smooth finish. Any imperfections at this stage will only become more pronounced as you move to finer polishing.
When grinding, work your way down through progressively finer grits. Start with a coarse grit to shape your sculpture and remove large imperfections. Then, move to medium and fine grits to smooth out the surface. Patience here will save you a lot of time and effort later on.
3. Choose the right polishing compounds
The choice of polishing compound is crucial for optical glass. Cerium oxide is the most commonly used polishing compound for this type of glass due to its effectiveness in achieving a high-gloss finish.
For best results, mix the polishing compound with distilled water until it becomes a slurry paste. Ensure your polishing compound is high quality and appropriate for the type of glass you’re working on.
4. Use the right tools and techniques
Polishing optical glass is a meticulous process that requires the right materials and tools. A felt or pitch polishing pad mounted on a rotary tool is often used for large surfaces. For smaller, intricate areas, hand-polishing with small felt tips or even wooden sticks wrapped in a polishing cloth may be necessary.
When polishing, apply the compound sparingly and work in small sections. Move the polishing pad in slow, overlapping circles to avoid creating swirl marks or uneven areas. If you notice any imperfections or scratches, go back to a finer grit and polish them out before continuing.
5. Maintain consistent pressure and speed
Consistent pressure and speed are key to achieving an even polish. Pressing too hard or moving too quickly can lead to heat build-up, which may cause the glass to crack or become distorted. Conversely, too little pressure can result in uneven polishing and a dull finish.
Aim to keep your tool moving steadily across the surface, applying just enough pressure to allow the polishing compound to do its job. If you’re hand-polishing, be mindful of the pressure you apply and adjust as needed to maintain consistency.
6. Pay attention to heat build-up
As you polish, friction between the glass and the polishing pad generates heat. Excessive heat can cause stress in the glass, leading to cracks or other damage. To prevent this, use water to keep the surface cool. If you’re using a rotary tool, take breaks to allow the glass to cool down, especially when working on a single spot for an extended period.
7. Inspect your work regularly
Regular inspection is crucial throughout the polishing process. Stop frequently to examine the surface under bright light, checking for scratches, haze, or other imperfections. Use a jeweler’s loupe or a magnifying glass to scrutinize the details. This will help you catch any issues early on, allowing you to address them before moving to the final polishing stages.
8. Practice patience and precision
Polishing optical glass is as much an art as it is a science. It requires patience, precision, and a steady hand. Don’t rush the process. Take the time to perfect each step, and you’ll be rewarded with a crystal-clear finish.
Conclusion
Mastering the art of polishing optical glass can elevate your work. By understanding your material, using the right tools and techniques, and approaching each step with care, you can achieve a flawless, high-gloss finish that showcases the true potential of your artistry. Happy sculpting!

